


I used to look forward to rainy days – they were a great excuse to avoid errands and instead curl up on the couch with a good book, a blanket, and my cappuccino.
But now, with a toddler? Rainy days are anything but relaxing! As soon as she sees the rain, my daughter runs to the closet to grab her rain boots and umbrella, ready to play outside and splash in the puddles. Of course, we’ll head out for a bit (it’s always good to have her run around and get her energy out!), but we can’t stay out all day.
Like most children, she has her favorite books and toys that will entertain her indoors for a while, but on a rainy day it felt like there were never enough activities to keep us busy for a day inside… until I remembered homemade play dough.
Now, we have an easy activity we both love. We make the play dough together, mixing and stirring, choosing the color, and waiting (as patiently as possible) for it to cool down after cooking. Once it’s finished, the possibilities for play are endless! And, my daughter has a sense of pride knowing she’s made something we both love.
Developmental Benefits of Playing with Play Dough
 What child doesn’t love play dough? It’s colorful, squishy, and fun to roll and flatten.
But, did you know that it can also promote serious toddler development? According to the National Association for the Education of Young Children, there are major benefits of guiding your children through play dough play.
Developing Fine Motor and Sensory Skills
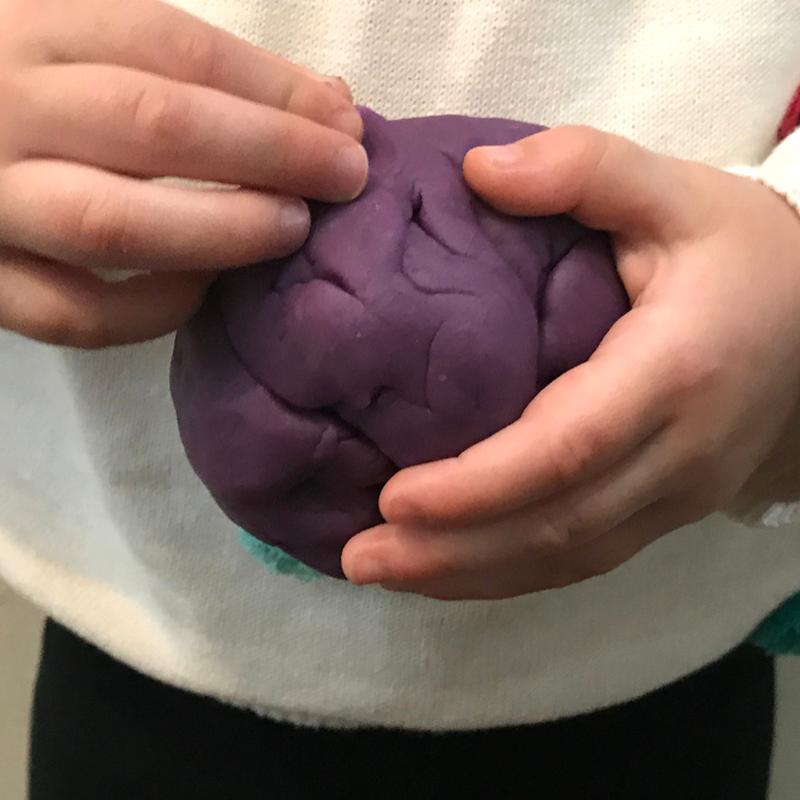
At its core, play dough is a tactile experience for children – feeling the dough with their hands and between their fingers. All of that rolling and squishing does more than just feel interesting to them, though. It also helps develop the muscles in their little hands.
Notice how the way your child plays with play dough changes as he or she develops more advanced fine motor skills. Over time, you’ll see that flattening may become shaping, or pulling may become cutting. Regular play dough play is a great way to see how your child’s motor skills are developing, and it’s fun for both of you!
You can add more of a sensory experience to your play by adding scents like extracts or essential oils to your homemade play dough batch. Of course, always make sure the addition you choose is safe for children to handle and/or consume.
Building Imagination and Creative Thinking
Playing with play dough can help promote imagination and creativity. Your homemade play dough can become anything – whether using a cookie cutter to make a concrete object, or rolling out to make “noodles”.
Ask your child about what he or she is making, and talk about the process. This will not only give you a fun window into the inner workings of your child’s brain, but can also help promote language development.
Plus, any household item can be turned into a play dough tool. A comb will score the play dough, a block will make an imprint, a cup can act as a cookie cutter. You’ll be amazed when watching your child’s creative thinking leap into action, coming up with brand new uses for everyday objects.
 Some of our favorite play dough “tools” are:
- Blocks
- Combs
- Cookie Cutters
- Garlic Press
- Forks
- Rubber Stamps
- Stickers
- Straws
And there are so many more!
Understanding Scientific Concepts with Homemade Play Dough
The above developmental benefits come with any play dough play, but making yours at home adds another layer – science.
First, following a recipe step-by-step is the same as following the steps to any scientific procedure. Then, you child will see real science in action. When the salt dissolves into the water, that’s a chemical reaction.
Mixing colors can be a fun test of questioning, hypothesizing, and seeing results. What would happen if we add more blue food coloring to our playdough? What if we added more yellow? Have your toddler stir and watch to see what happens.
Simple Homemade Play Dough Recipe
This recipe is adapted from my favorite childhood cookbook, Kids Cooking: A Very Slightly Messy Manual (published in 1987 ?), and lovingly held onto by my parents.
Ingredients:
- 1 cup white flour
- ¼ cup salt
- 2 tablespoons cream of tartar
- 1 cup water
- 1 tablespoon vegetable oil
- 2 teaspoons food coloring
Instructions:
- Mix flour, salt, and cream of tartar in a medium-sized pot.
- Add water, food coloring, and vegetable oil.
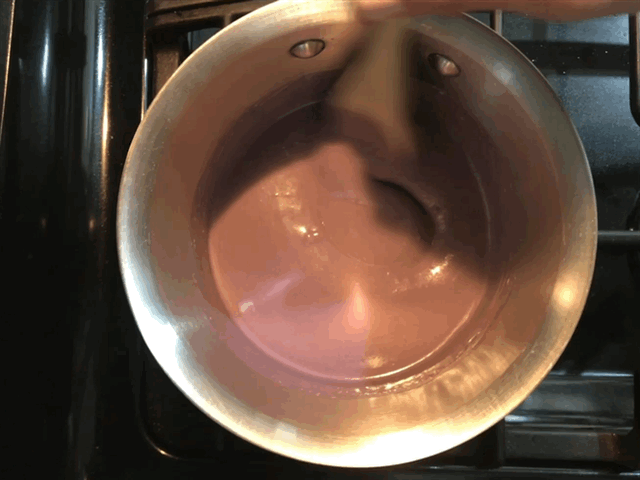
- Stir over medium until the mixture forms into a ball in the middle of the pot, 3-5 minutes.
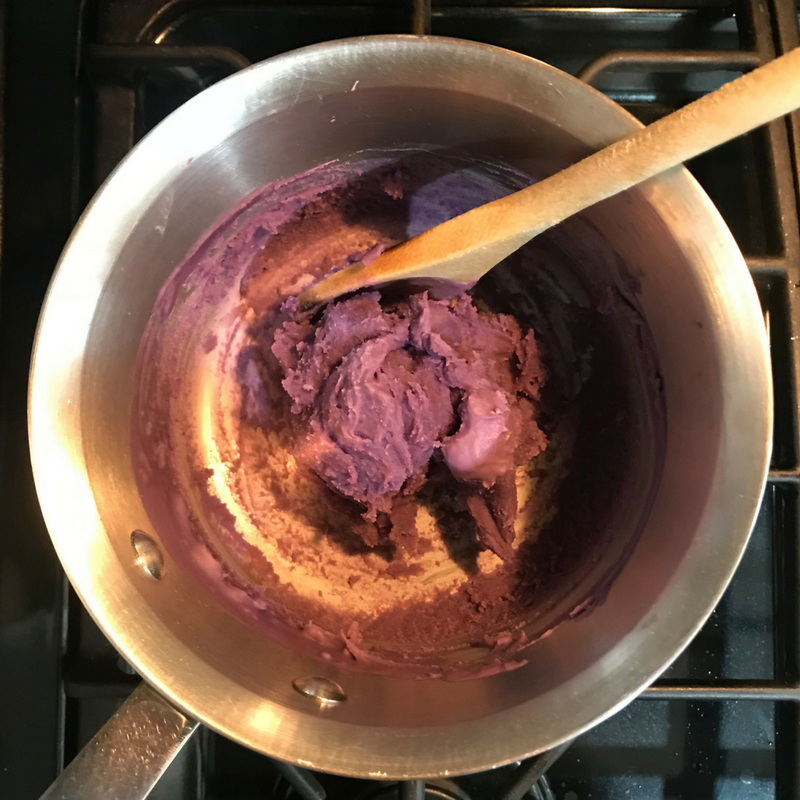
- Remove the dough from the pot (be careful, it will be hot!) and place on a floured surface.
- Knead the dough until smooth. You’ll notice the color will deepen as you continue to knead.
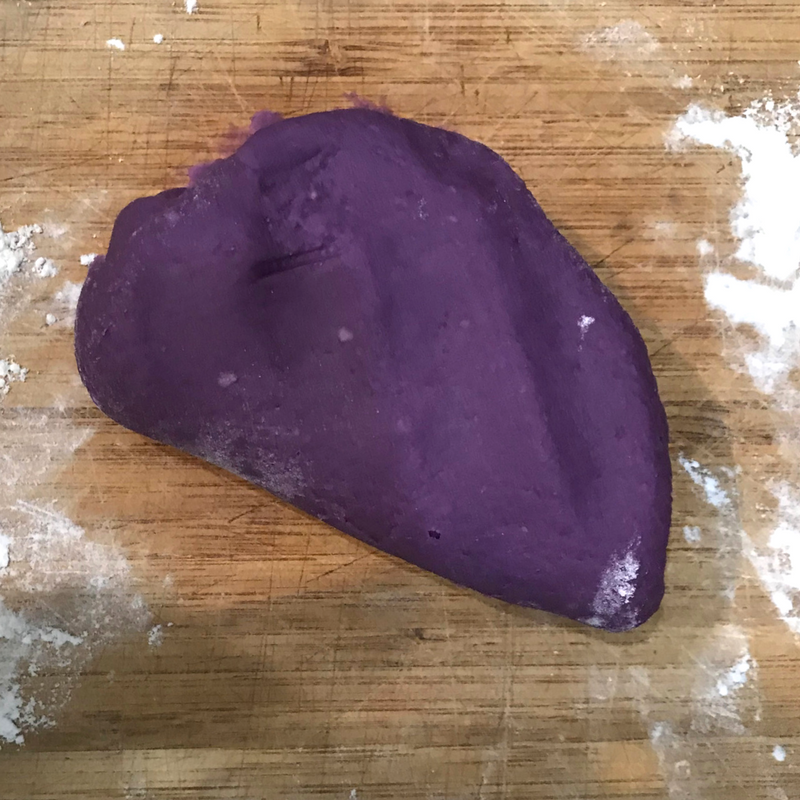
- The dough will cool as you knead, but if it’s still too hot place it in an airtight container in the refrigerator until it’s a comfortable temperature for your child to handle.
It’s that easy. Store your play dough in an airtight container in your refrigerator, and bring it out on a rainy day!
")


